We’re here, at the end of the Imperial road. Combining the Support and Heavy units together gives us plenty to talk about, so let’s get on with it!! I’m even going to go over the tank since we have all of the information on it!
74-Z Speeder Bikes

The support unit from the core set still sees some use, but maybe not as much as they used to. I don’t think they’re a bad unit by any means, but when building an Imperial list, 90 points can come at a premium. Let’s go over what the Bikes bring to the table on the face of things. First of all, they’re a speed 3 Repulsor Vehicle with Speeder 1 as a keyword. What this means is that the Speeder can ignore terrain that is height 1 or lower, and it must perform a compulsory move. Notice the wording on the card, it doesn’t say “may” which means it is a mandatory compulsory move. You need to consider every move you make with them, because you don’t want to crash into bigger pieces of terrain, run off the board, or displace your troopers if you were to finish your move on them. They do have Cover 1 which is pretty good, and gives them automatic light cover. They have a health pool of 3, per bike, and they can’t be suppressed and they can’t be engaged. They roll white on defense, with a surge. On offense, they roll the rainbow dice with Impact 1 and Fixed: Front (meaning the shot needs to be from the front arc) and they surge to hit. Ultimately, they’re a great flanking unit if they are run in a list. However, I think you need to run them in pairs at the minimum. They are only allowed a Comm upgrade in which you should most likely consider HQ Uplink, I think.
E-Web Heavy Blaster Team

The E-Web has a lot of keywords on it that we should go over and we’ll start with Cumbersome because it’s on the back of the card not shown. Cumbersome states “You cannot use this weapon and move, except for pivoting, during the same activation. This essentially nerfs the E-Web a little bit, because if it could move and use the Heavy Blaster weapon it would be maybe too strong. Full Pivot allows you to pivot up to 360 degrees, Plodding only allows you to move once per activation, Reposition gives you a free pivot action, and Sentinel bumps your standby range to 1 to 3. Some It has a health pool of 4 and a suppression threshold of 2. It rolls red dice on defense, with no surge, similar to Stormtroopers of course. On offense, it rolls one red, two black, two white at range 1 to 3. They do have the E-11 blasters, which coincides with Cumbersome, meaning that if you move you can’t shoot the E-Web…but you can shoot the E-11 blasters, if you wanted to, and all of the weapons surge to hit. I would personally add the Barrage Generator to add two more white dice and suppressive into the dice pool. One red, two black, four white with suppressive at range 3 is pretty solid. At a base cost of 55 points, 65 if you bring barrage, E-webs can give the Imperials a cheap support option.
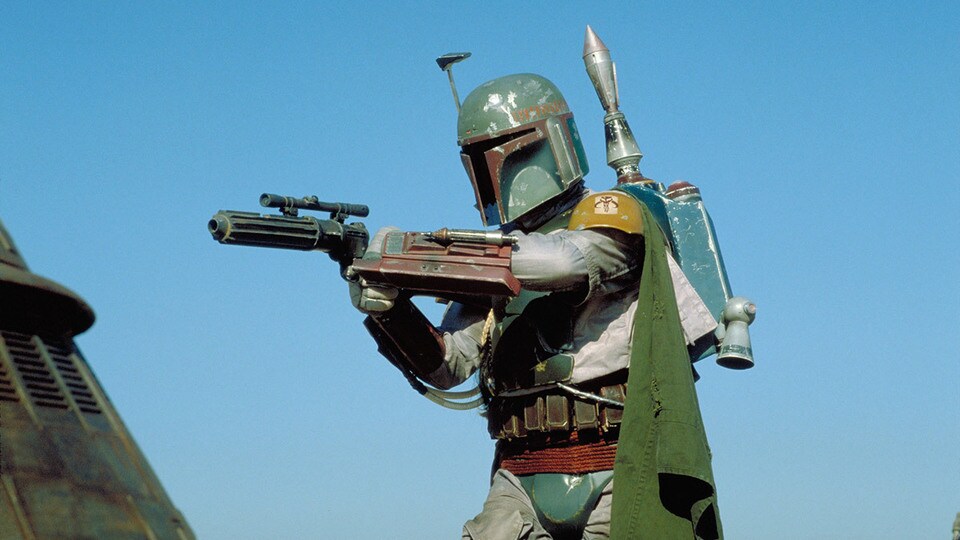
AT-ST

Ah, the AT-ST….A much talked about Imperial unit. It’s slightly over costed at a base of 195, especially when you start adding Hardpoint weapons and pilots (listed below). It has Armor which allows it to cancel ALL hit results. Arsenal 2 allows it to attack with two of it’s weapons, and it has Weak Point 1: Rear which if the attackers unit leader is inside the rear arc, that attack pool gains Impact 1. It has a health pool of 11 and a resilience threshold of 8, rolls white defense dice with surge to block. It needs to be kept in mind that FFG has changed the vehicle damage rules as of recent, which certainly helps vehicles in someways. I would reference the Rules Reference to learn more about that! Now for it’s attack, it has the MS-4 Twin Blaster Cannon which is range 1 to 4 with two red, two black, two white….no surge to hit. However! Later this month, the tank comes with a new pilot which is pretty big for the AT-ST, and we’ll go into that after the Hardpoint options. OH and if all else fails and you find yourself in some melee, it rolls four red with it’s every so scary named Fence Cutting Blades! (Four red dice is no joke, though.) Keep in mind, the AT-ST can go into melee, but it cannot be engaged! (Surprised it doesn’t have Weak Point: Ewoks)
AT-ST Hardpoint Options


All in all, the hardpoints don’t really cost that much. I would think you run it with the Twin Light Blaster Cannon, most of the time, and maybe the Mortar Launcher to possibly counter snipers. For 20 points the Twin Light rolls one red, one black, one white at range 1 to 3, it is Fixed:Front with Impact 1. For 10 points the mortar rolls three whites, Fixed:Front and it is Suppressive at range 4+ which is pretty big. If you can land some hit’s you’re handing out 2 suppression in the opponents backfield. Last but not least the DW-3 Concussion Grenade Launcher costs 15 to roll two black, with Blast at range 1 to 2 Fixed:Front. Still relatively cheap, and maybe you take it if you expect your AT-ST to get close, but I still think the other two might be a better go to.
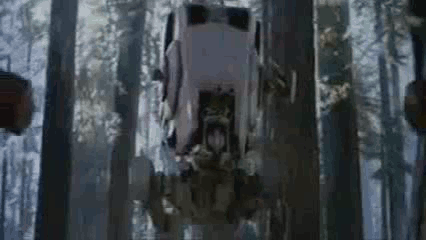
TX-225 GAVw Occupier Combat Assault Tank

The TX-225 GAVw Occupier Combat Assault Tank is a mouthful, so we’re just going with “the tank” or as some folks on the interned love to call it “the snow blower” as it may be a good use to transport Snowtroopers into the action. As long as the name is, there is also a lot to take in here. The tank has Armor, similar to the AT-ST it blocks all hits that are not crits. It has Arsenal 2, which as we know allows it to shoot two different weapons. It has a very new keyword of Transport 1: Open, which allows it to transport 1 friendly trooper UNIT. Keep in mind a few things for Transport: if the tank suffers any kind of wound, the unit transporting suffers 1 wound. When transporting, if you move the tank twice, the unit inside can only spend one action to disembark as opposed to disembarking and getting another action had the tank moved once. I’m pretty sure I have that correct, but I’m also not the best when it comes to interpreting new rules. It has Weak Point 1: Sides which gives the opponent Impact 1 when attacking it from it’s side arcs….which are quite big. It has a health pool of 8, a resilience level of 6, and rolls red dice for saves with no surge. On top of the addable hardpoint weapons, it has it’s Forward Twin MK 2 E/W Cannons which rolls a red and a black at range 1 to 2 with Suppressive while being Fixed:Front. It also has the Lateral Quad MK2 2 E/W Cannons which gives the tank a great 1 to 4 range weapon of two red, two black with Impact 2 and Fixed:Front. You can add a pilot and a hardpoint, as well as comms, but let’s dive into the hardpoints below.
The Tank Hardpoint Options


As always, the DLT-19 find it’s spot in an Imperial unit. At a cost of 18 you get two red dice at range 1 to 4 and Impact 1.Very standard for a DLT and ever so efficient. Next option is the RT-97C Rifle Pintle, which gives you some extra dice with one red and three white and no keywords. It is four points cheaper, I guess it really comes down to if you think Impact 1 and just two red dice are worth the extra four points, which most of the time I’d have to say the DLT is the way to go. It’s proven efficiency, especially for it’s points cost.
Imperial Ground Vehicle Pilots


I decided to bunch the pilots up here since they work for both vehicles. General Weiss comes with the AT-ST and for 10 points, he’s exhaustible to give the AT-ST Arsenal 2…which would stack with it’s inherent Arsenal 2 and give you Arsenal 4. So if you fully load it up, you can shoot a lot of things or something with a lot of dice. Prior to the tanks upcoming release, you probably did just that. However! The tank comes with two new pilots that are both pretty good options in general, but one specifically helps the AT-ST and the tank the most in my opinion. The Imperial Hammers Elite Armor Pilot gives Imperial Ground Vehicles surge to hit for 10 points. I don’t want to say this is an auto include, but it’s pretty close. The only reason it’s not an auto include is because the First Sergeant Arbmab is actually good as well, and cheaper at 5 points. It gives Imperial Ground Vehicles Tactical 1 which allows you to gain an aim token after a standard move, which is really strong if you want to move and shoot. I would think that the Hammer Pilot goes on the AT-ST most of the time, and then it’s a debate for which pilot you take on the tank. Both are great options. Sorry, Weiss.
Final Thoughts
Surprisingly so, all of the units we went over here are pretty viable. They may not be optimal, but they are viable. I think the tank is going to really shake things up because it appears to be the best vehicle worth taking on either side. I think FFG is doing a good job to try and make vehicles good in the game, which in turn could bring use of some Ion and Impact weapons if vehicles start to appear more often on the table. That said, I still think the Rebel Trooper Ion and Snowtrooper Ion guns still sit in the dark corner of your closet because they just both stink, but to each their own! Sorry for the delay on the post, but I just couldn’t compete with those Shoretroopers and Dewbacks. My oh my do those look amazing. They might be enough to get me to switch from Rebels to Imperials….until Clones come out. Man, this game is the gift that keeps giving! Enjoy it!
May the Force be with You!
-GrandAdmiralThrawn


.png)